Initialize CloudFormation Template
Initialize CloudFormation Template
You must first download CloudFormation Template and proceed with decompression operation.
- Access the CloudFormation Management Console by typing CloudFormation in the search bar.
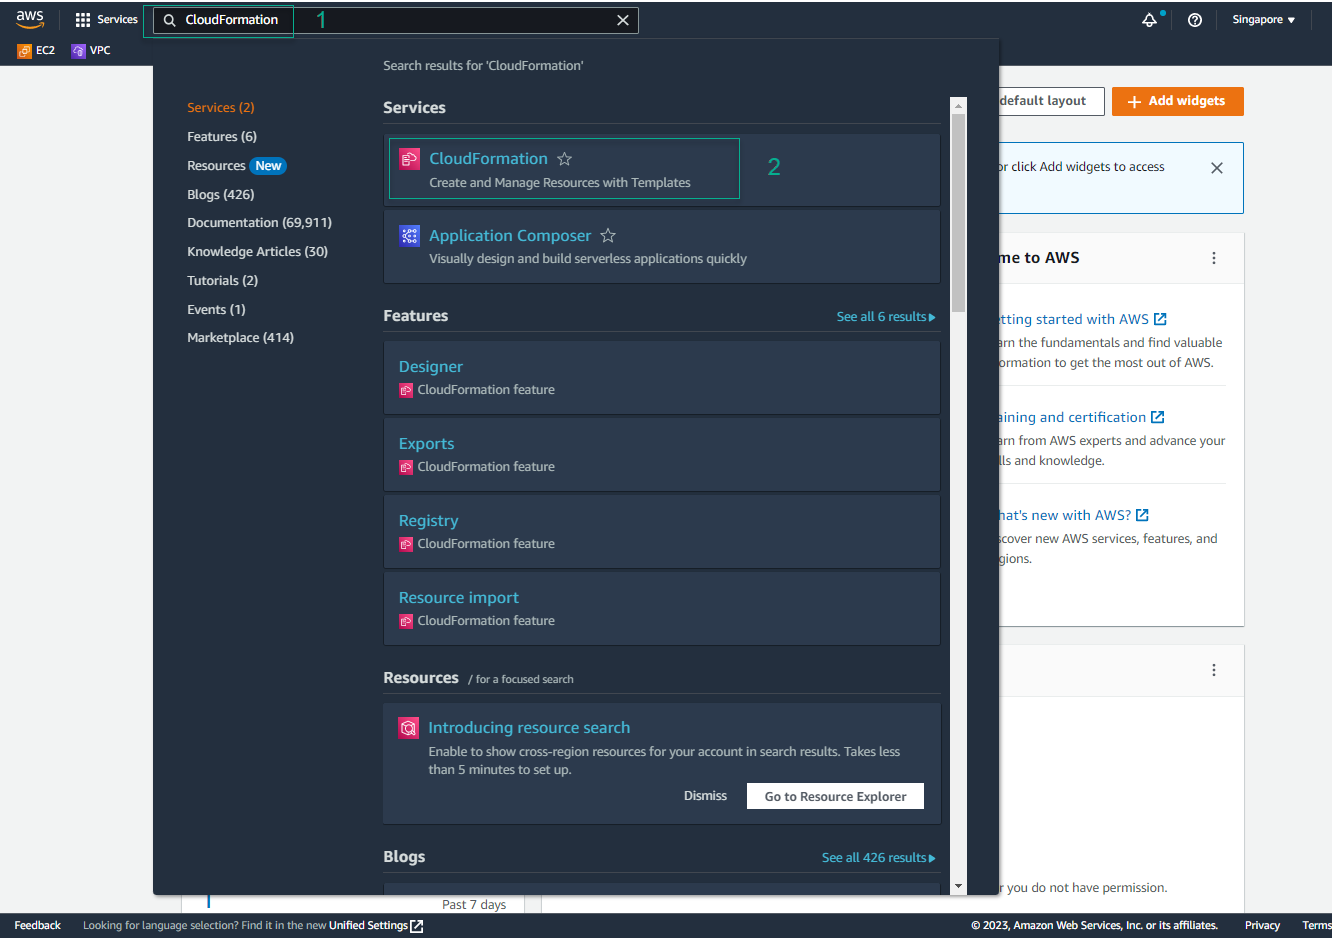
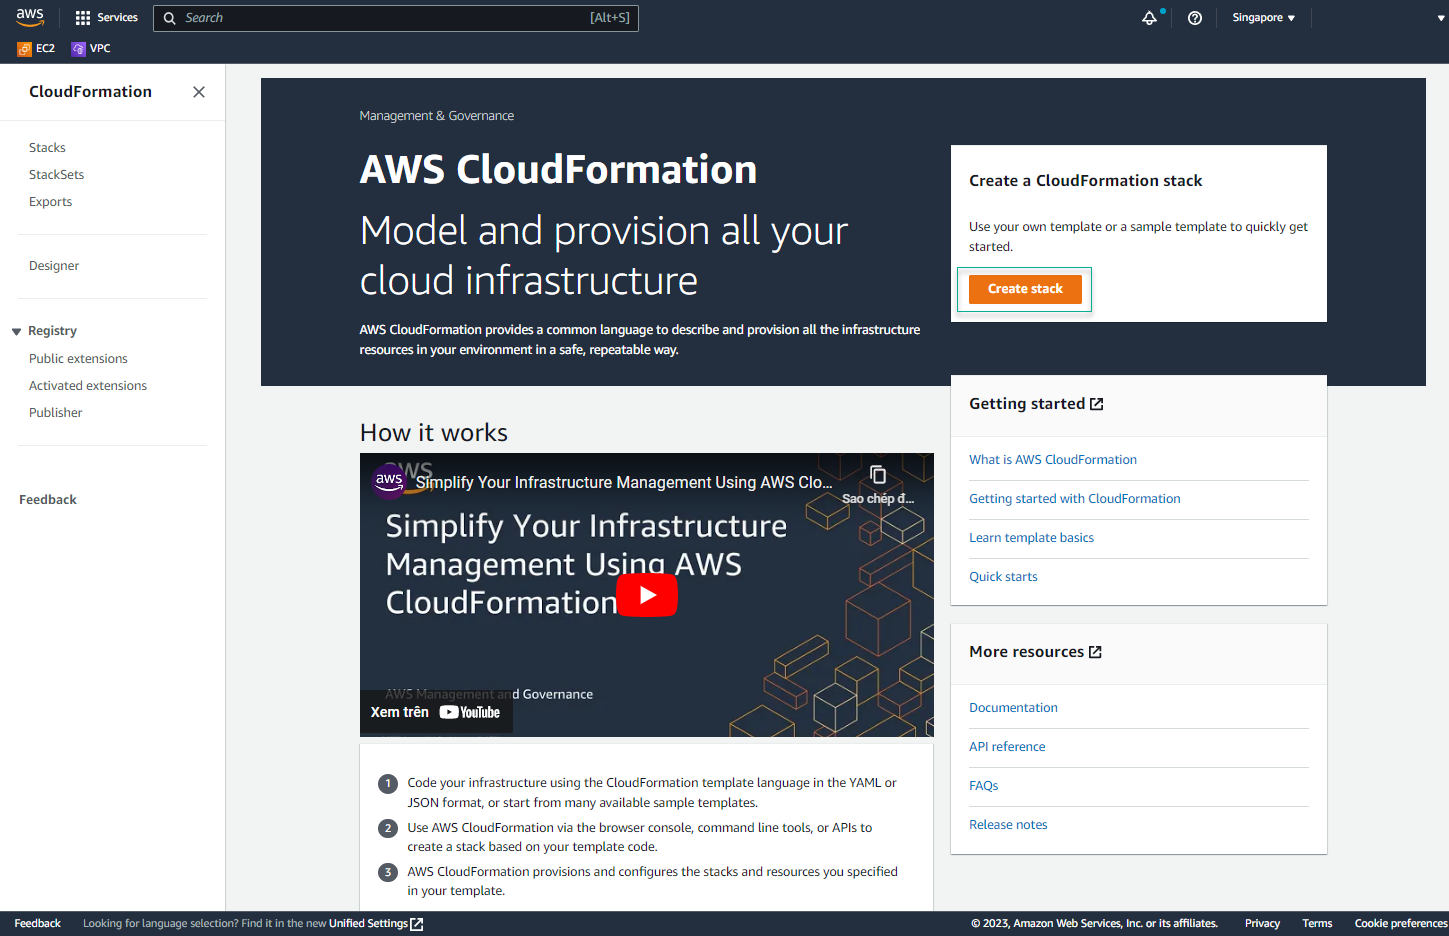
- In the CloudFormation interface
- Select Create stack
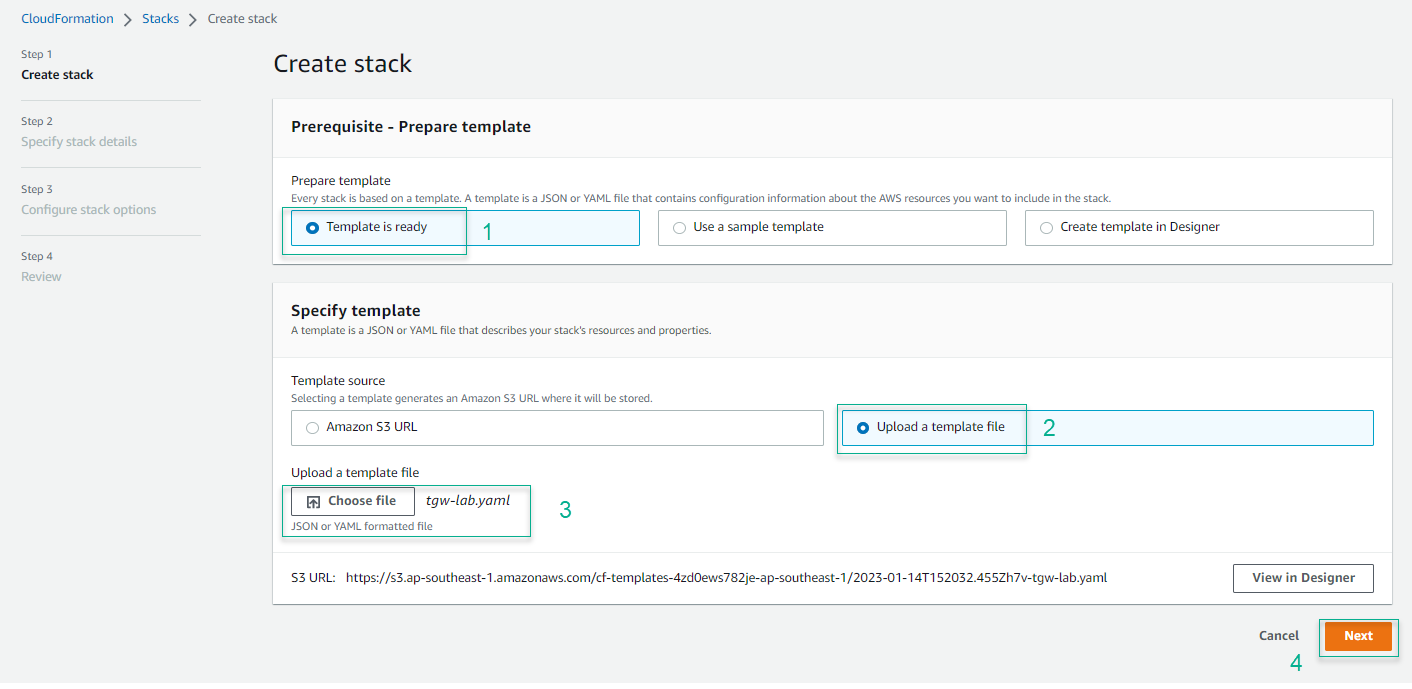
- Select Upload a template file, select tgw-lab.yaml from the source we downloaded above, and select Next.
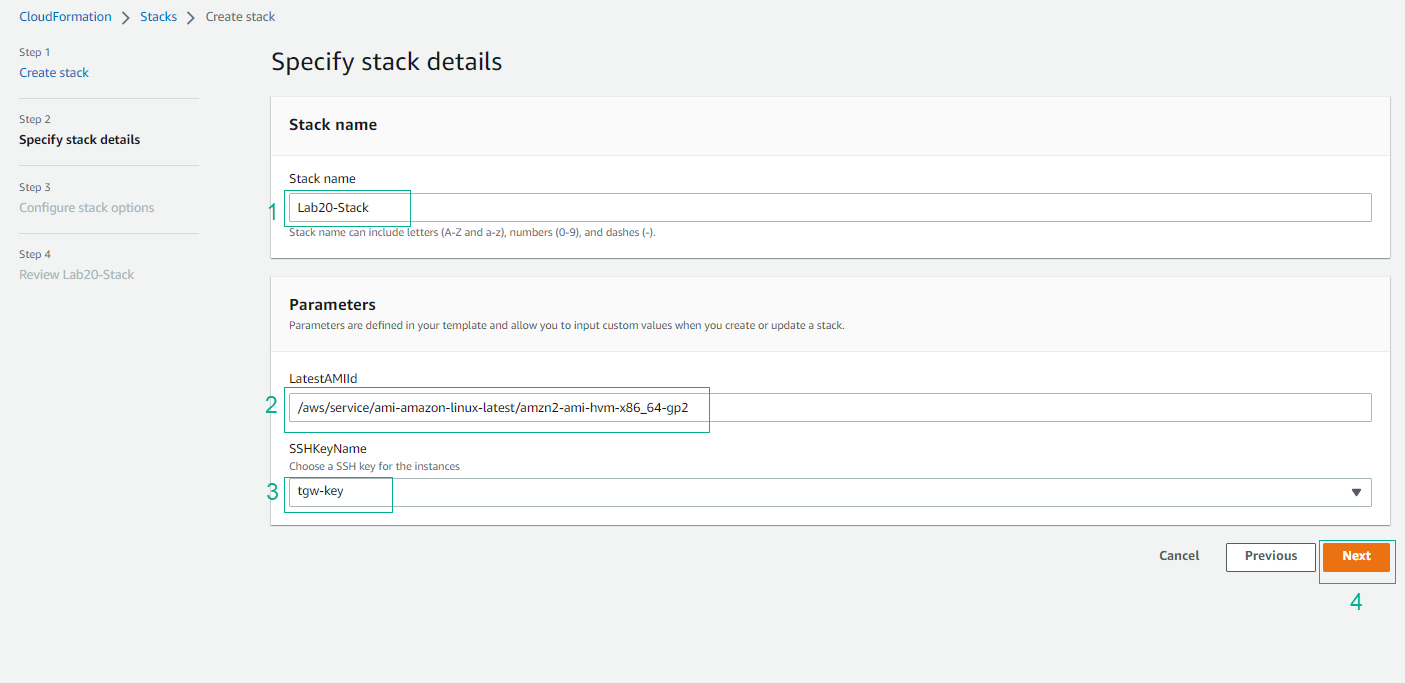
- In the Specify stack details page, enter a name for the stack (eg Lab20-Stack), select your SSH Key, and then select Next:
- In the Configure stack options page, keep the defaults and select Next.

- In the Review page, check the information and select Submit.
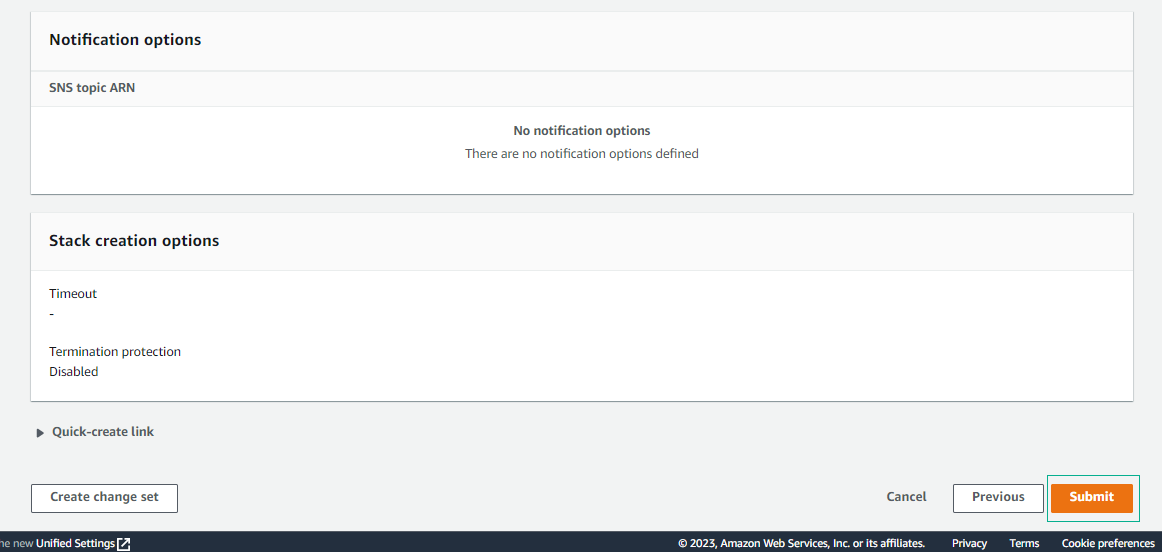
- Create Stack successfully.
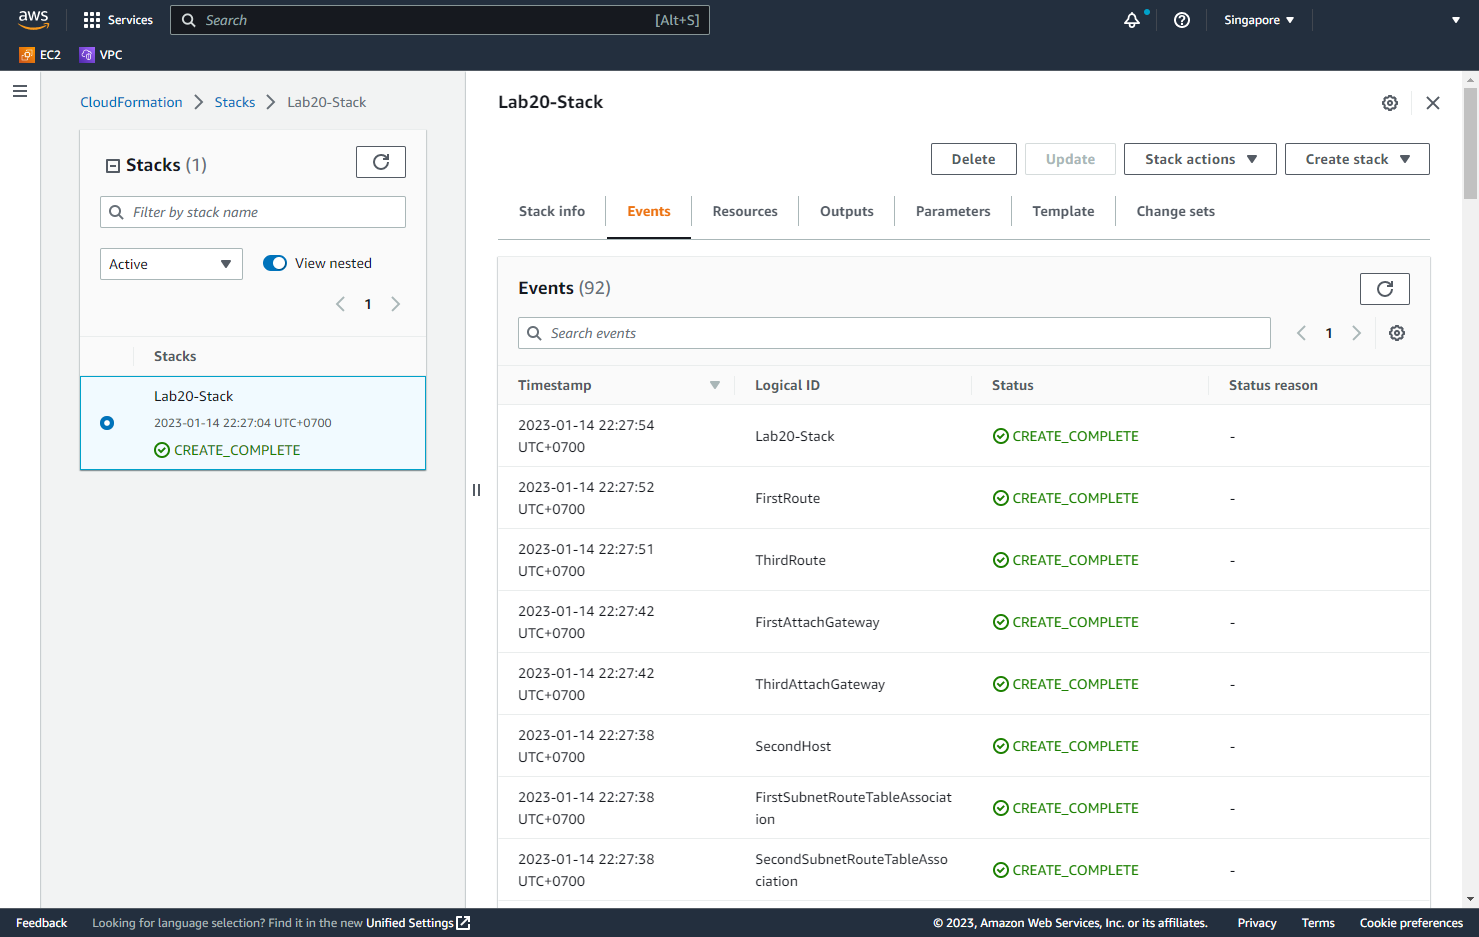
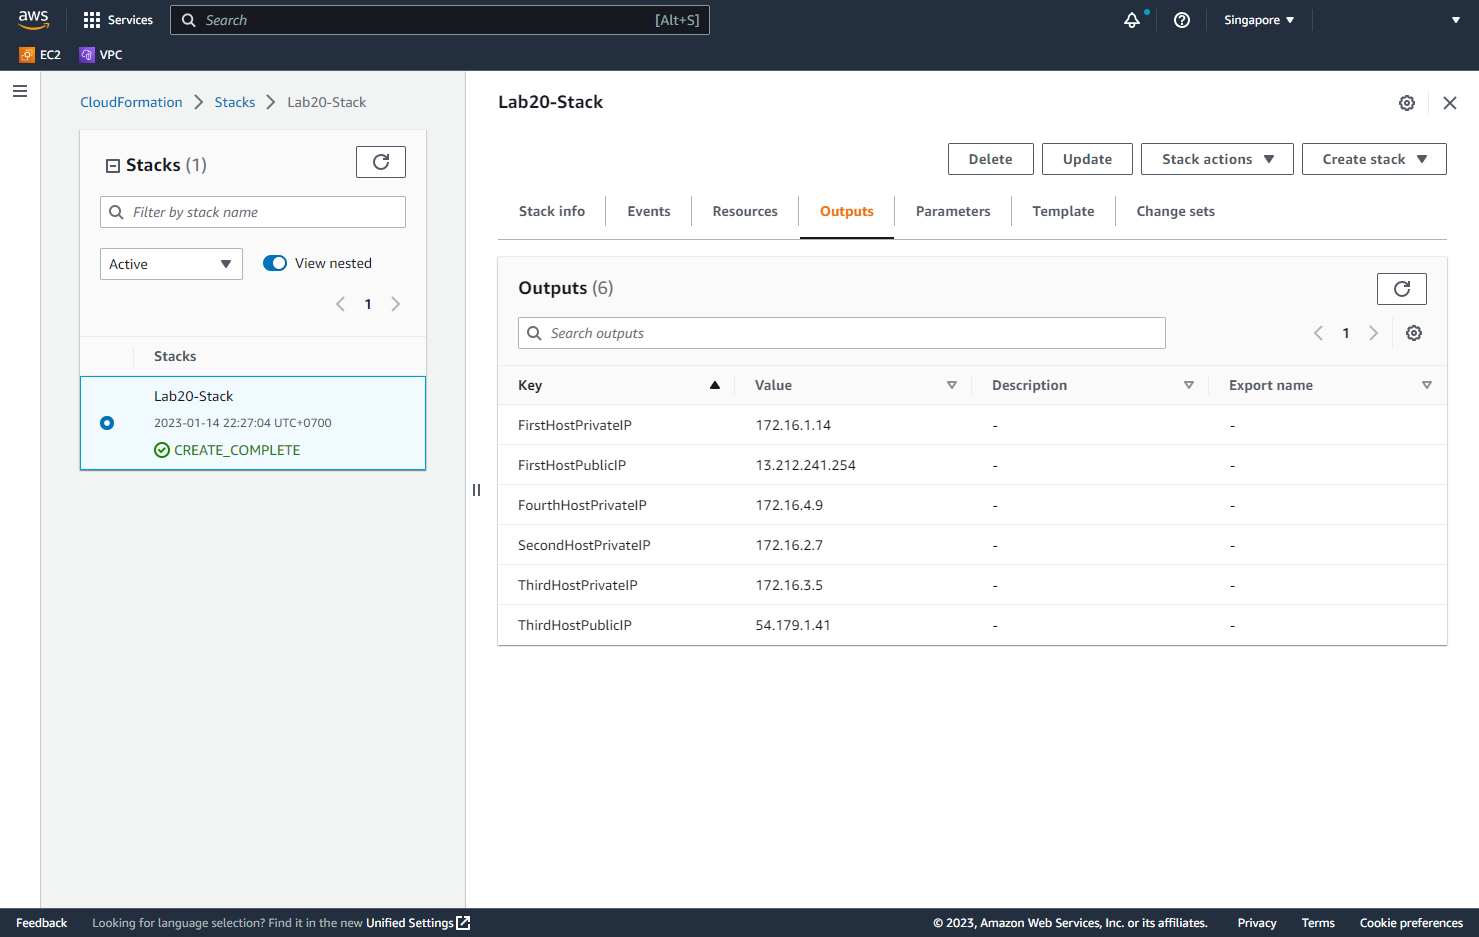
- View Output of the newly created stack.
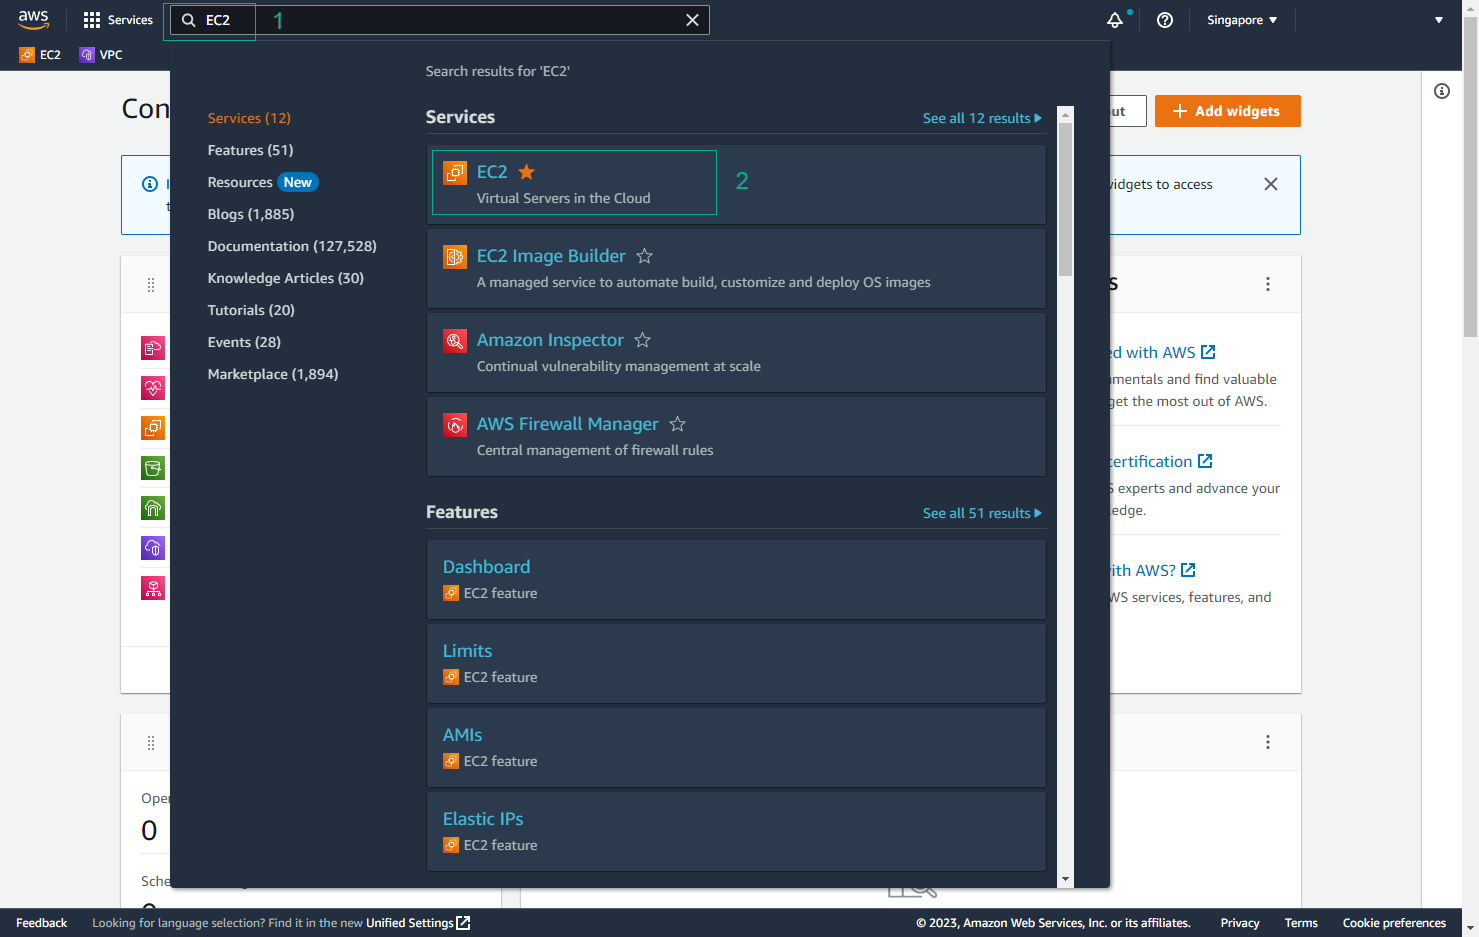
- Return to AWS Management Console interface
- Find EC2
- Select EC2
- In the EC2 interface
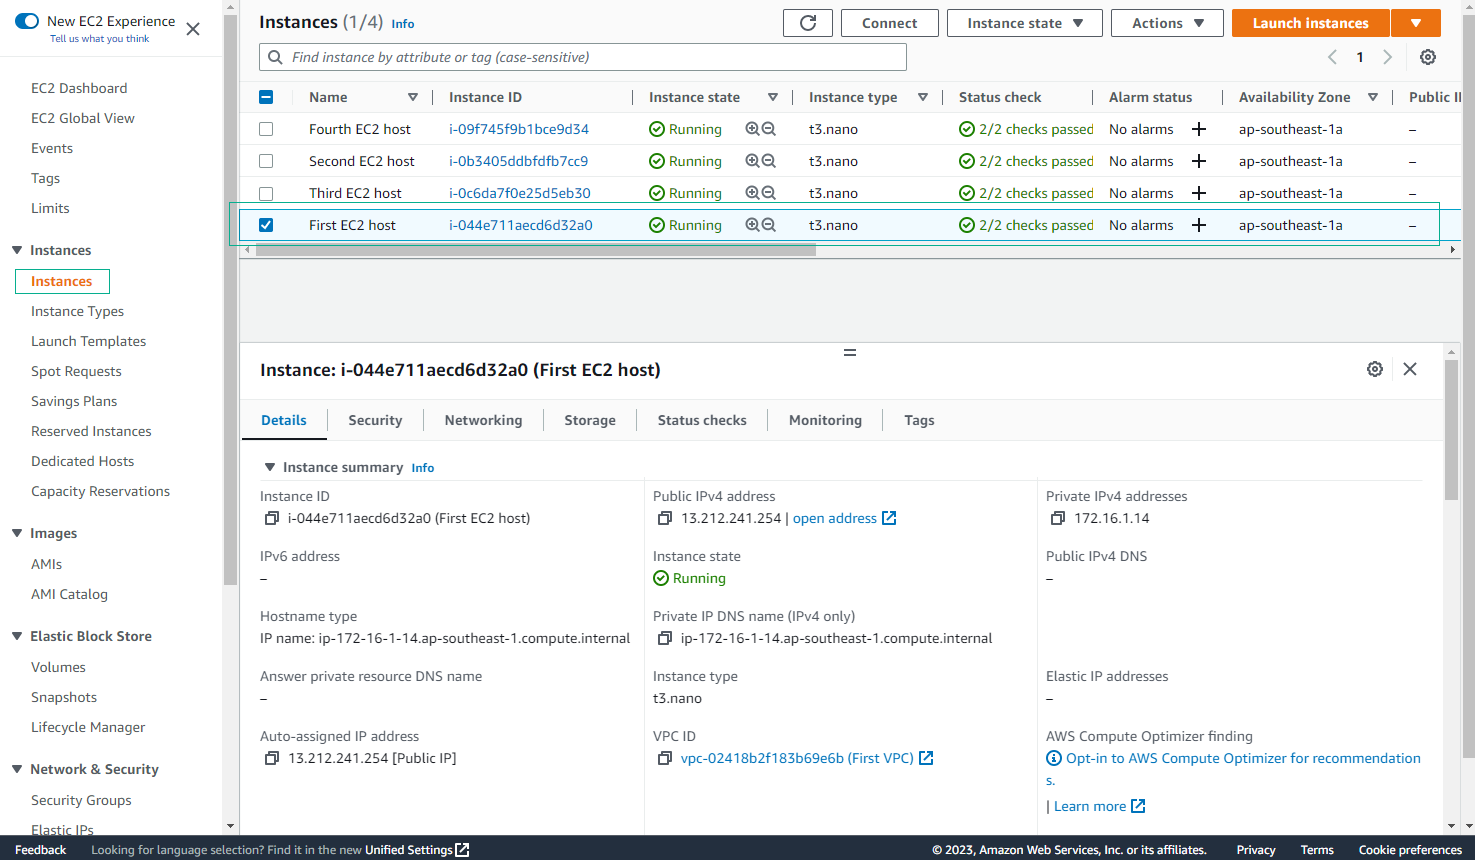
- Select Instances
- Select First EC2 host
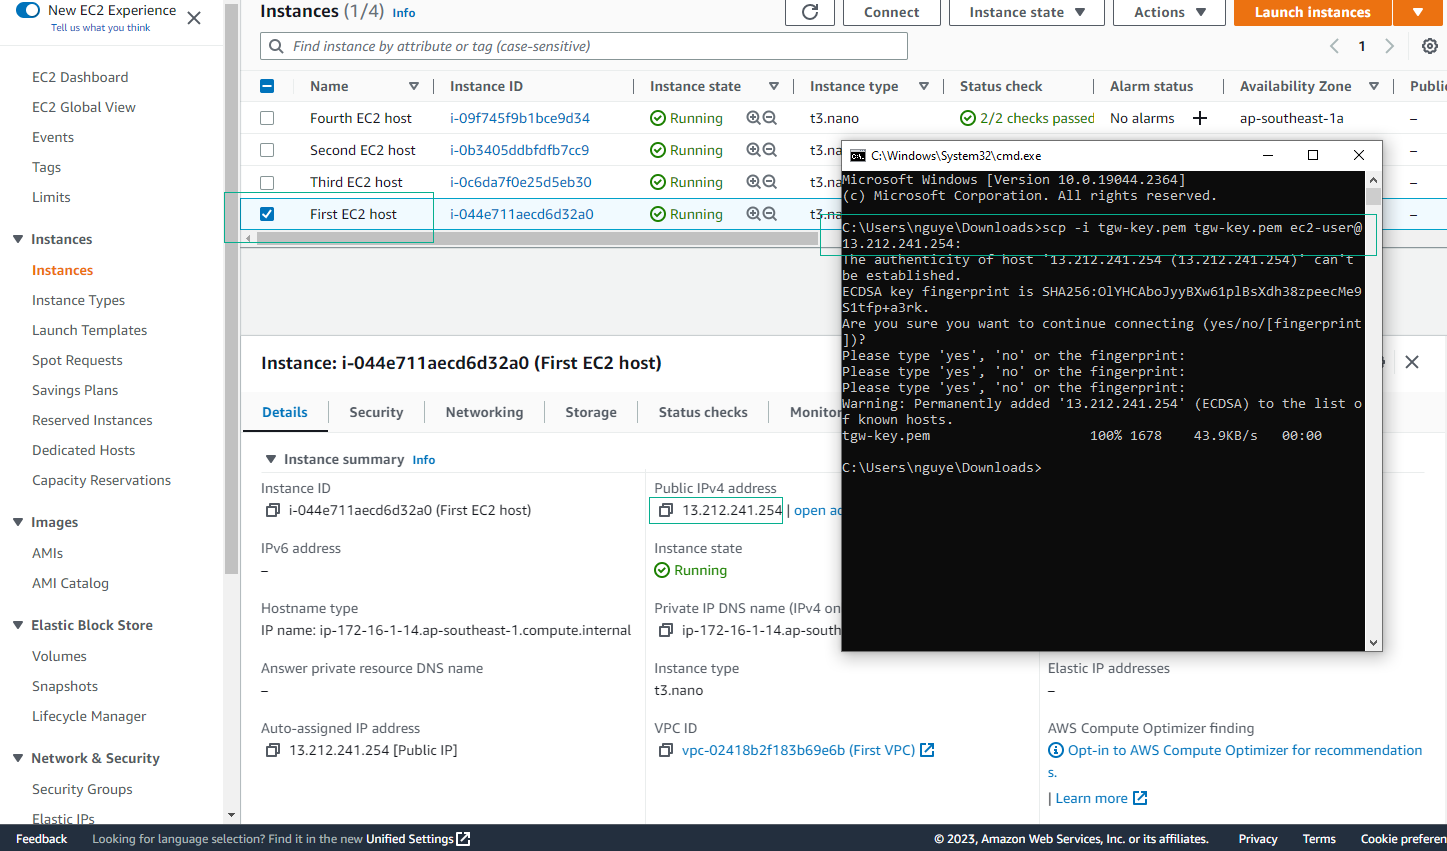
- Go to the folder where you have SSH Key pair and then run the following command to copy Key Pair to First EC2 Host for the next step.
scp -i <key name> <key name> ec2-user@<public ip>:
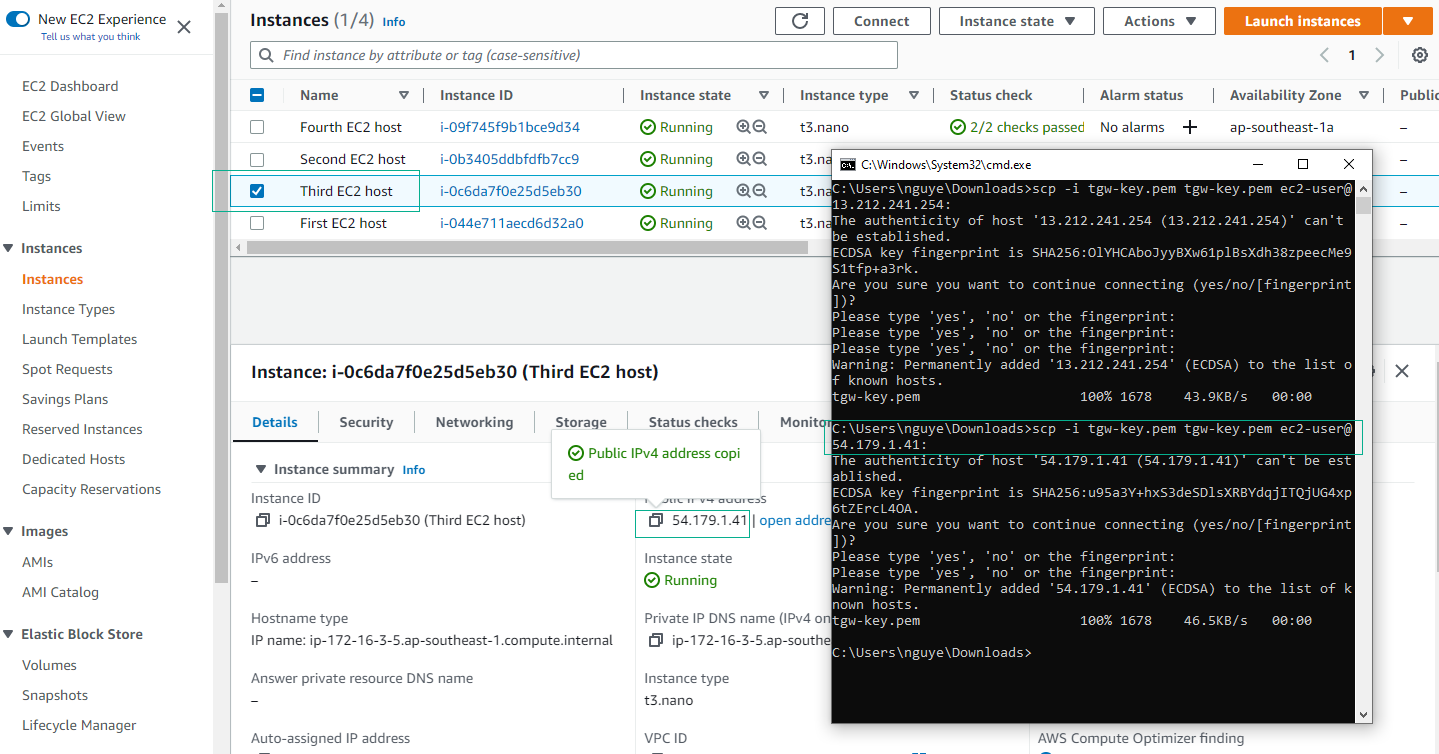
- Go to the folder where you have SSH Key pair and then run the following command to copy Key Pair to Third EC2 Host for the next step.
scp -i <key name> <key name> ec2-user@<public ip>:
The scp command will be available on Linux and Mac operating systems. If you use Windows operating system, install PuTTY to be able to use commands and connect to EC2 instance. You can refer to the CONNECT LINUX VMs of lab 000004 section.